If you want to set up your snowboard gear, there is no way to find out exactly what set up works for you until you mess around with your set up for a bit. Even if you are dialed try changing up your stance every 15-30 days or so to see if something else might work for you.
Before you start go buy a pocket tool so you can adjust your snowboarding gear any time and not have to rely on what ever the resort lets you use. Its usually a work bench with a bunch of tools attached to chains and it sucks!!!
Setting Up Your Boots,Bindings and Board
So do you ever say this board is good but it doesn’t turn well on the toe side? Well that’s not the board. That’s most likely the way you set it up. So make sure your set up your boards, boots and bindings right.
Step 1- Allign Your Boots to Your Bindings
This is really really really important. There is usually a toe ramp so you want to adjust it forward or back so your boots toe is going to sit on the bindings toe ramp correctly. That way you have better toe response. It can really make a big difference. If you have an adjustable heel loop even better because you can slide it in and out to exactly center your boot inside the binding.
Step 2- Center your binding (with boot in it) on the board.
Stance Width
It takes a little work to find a comfortable stance width. Everyone is different but the best place to start is about 1 CM wider than your shoulder width. Then go to the hill with a tape measure and a pocket tool with you. Take a couple runs and see how it feels. If it still feels off then go wider or go more narrow.
How you Measure Your Stance Width– It’s best to measure from the center of the disc to the center of the disc.
Stance Angles
Its good to play around with your angles. When you feel comfortable try one more angle to make sure its as comfortable as it gets. Do what is comfortable to you and how you ride. These are some places you could start.
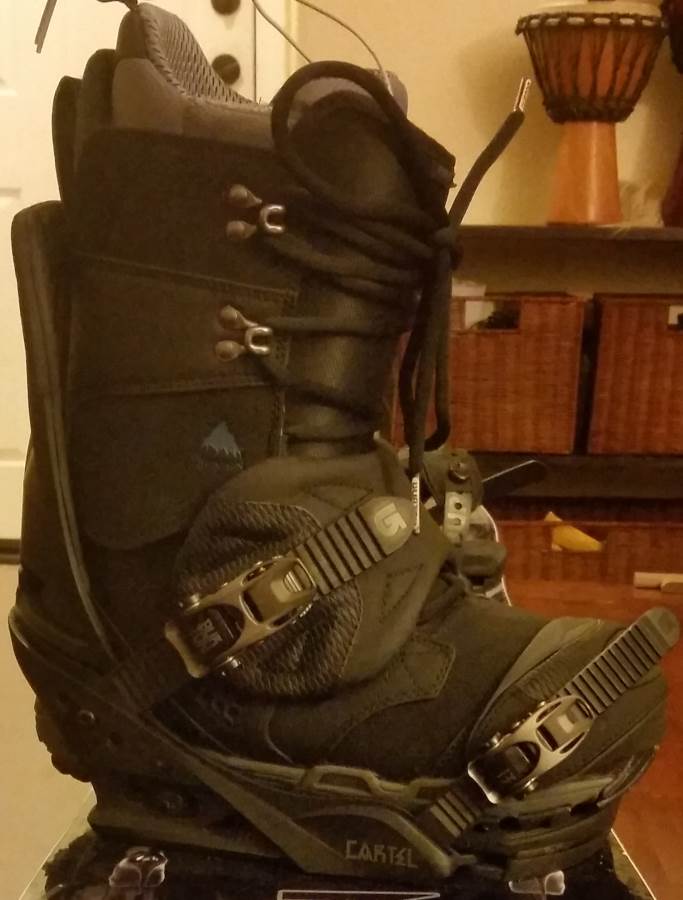
For those that ride switch a lot- If you like to ride switch as much as you do regular then Duck is a good way to go. A good place to start is 15 for the front and 15 for the back. Take a few runs and work out or in from there till you feel comfortable. Here is a picture of 15 for the front and -15 for the back

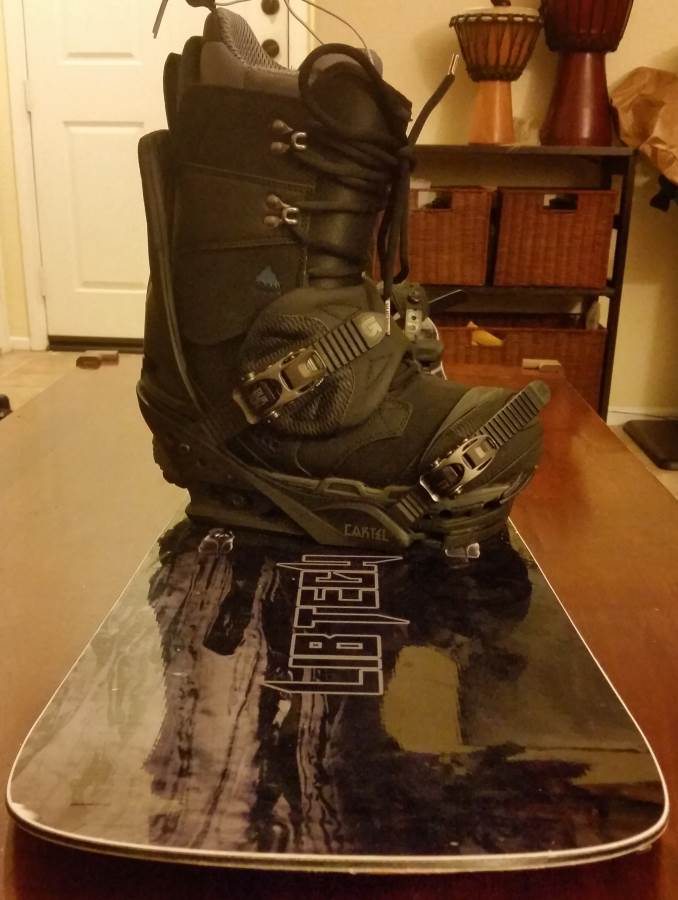
For those that dont ride switch much or at all– A good place to start for a freeride stance would be 18 for the front and 3 for the back. The more all mountain you get the more the back foot moves towards a duck stance like 15 front -6 back. Here is a picture of the board set up at 18 for the front and 3 for the back.

All Mountain Riding can be any variance of the 2 stance angles above.
Rotate Your High Backs
You can leave your backs the way they are or try to make them parallel to the rail of your board. Most bindings allow you to adjust the placement of your backs so if you have a -15 on the back binding you can have your back equal line up like its at 0. It makes it easier to turn but its not necessary. Here is a picture to see what it looks like.

De-Tuning Your Board’s Edge
These days with many hybrid shapes this is not that important. However if you have a camber board the edges are usually not de-tuned and can be more catchy that way. Even if you don’t ever want to slide on boxes/rails its still important to de-tune your edges. Go to a shop and see how they de-tune your rails for normal riding. They will just take a little off the top of the nose and tail so you are less likely to catch edges when turning. After that you can buy a file and do it yourself after that. This really helps eliminate that catchy feeling new boards have and can prevent catching an edge. If you ride boxes and rails then you might want to take a file to all your edges.
Stomp Pad
Some people feel that you don’t need em but some like that it helps you keep your foot on the board when one footing off the chair. It’s not necessary but there is nothing worse than stepping on a slick wet board and sliding into the splits. Don’t go nuts with it but some low profile studs will work.